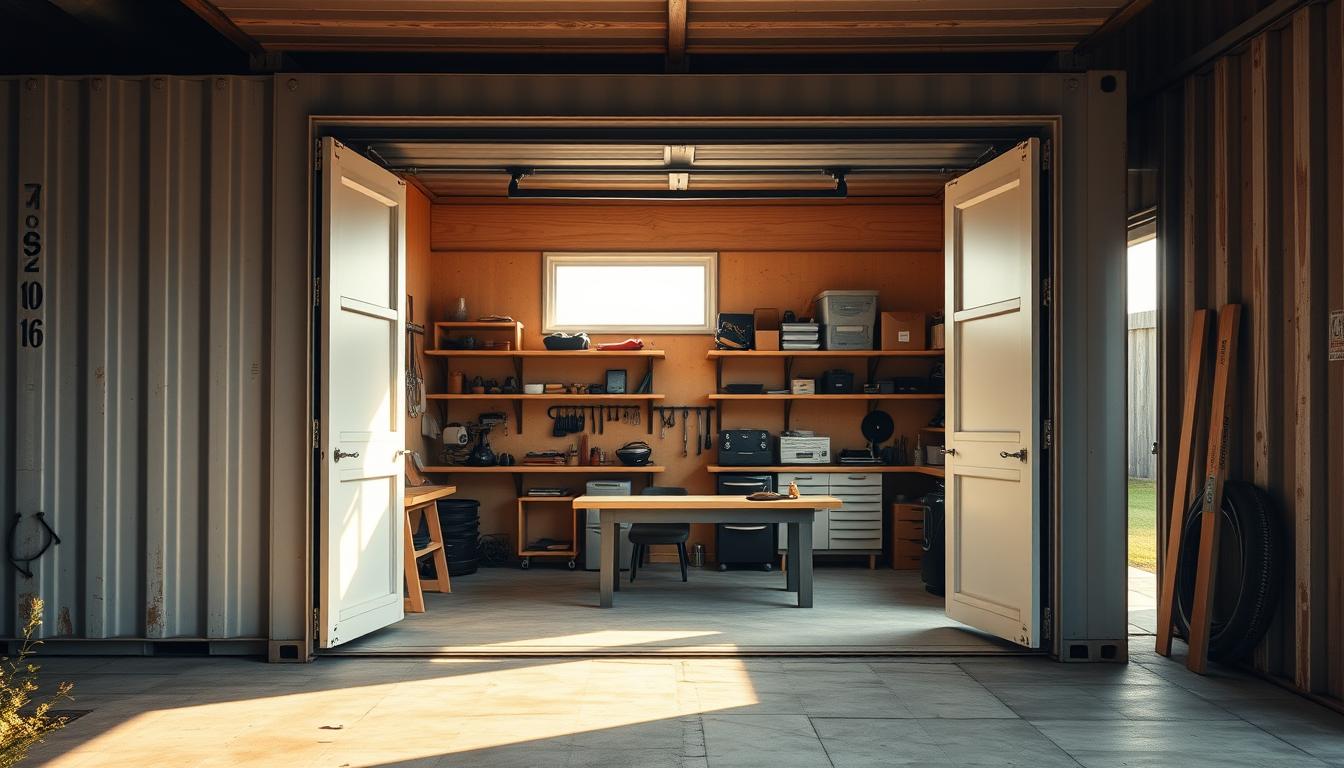
Are you tired of cluttered driveways and limited parking space? Transforming a shipping container into a garage can be a game-changer for homeowners seeking additional storage and parking solutions.
With a little creativity and some DIY expertise, you can breathe new life into an old shipping container and turn it into a functional garage. This conversion not only adds value to your property but also provides a unique opportunity to create a customized space that meets your specific needs.
The process of converting a shipping container into a garage is more straightforward than you might think. By following the right steps and guidelines, you can achieve a successful DIY shipping container garage conversion that enhances your home’s functionality and aesthetic appeal.
Key Takeaways
- Assess your shipping container’s condition before starting the conversion
- Plan your garage design and layout carefully
- Choose the right materials and tools for the job
- Consider hiring professionals if you’re unsure about any aspect of the conversion
- Ensure your garage conversion meets local building regulations and codes
Why Shipping Container Garages Are Gaining Popularity
Shipping container garages offer a unique blend of functionality and sustainability, making them highly popular among homeowners and DIY enthusiasts. These structures are not only eco-friendly but also provide a cost-effective solution for additional garage space.
Benefits of Container Garages Over Traditional Structures
Container garages have several advantages over traditional garages. They are quick to install and can be easily modified to suit specific needs. Moreover, they offer a unique aesthetic appeal that can enhance the overall look of a property.
Some of the key benefits include:
- Durability and security
- Flexibility in design and layout
- Potential for energy efficiency
Cost-Effectiveness and Sustainability Factors
One of the primary reasons for the popularity of shipping container garages is their cost-effectiveness. Repurposing shipping containers reduces waste and the need for new materials, making it a sustainable choice. Additionally, container garages can be designed to be energy-efficient, further reducing their environmental footprint.
Versatility and Customization Potential
Shipping containers can be transformed into a variety of garage designs, from simple storage spaces to fully equipped workshops. The versatility of container garages allows homeowners to customize them according to their specific needs, whether it’s for parking vehicles, creating a shipping container workshop, or even a home gym.
The potential for customization is vast, with options to add insulation, electrical installations, and advanced security systems, making container garages a highly adaptable solution for different needs.
Planning Your Shipping Container Garage Project
The success of your shipping container garage project hinges on meticulous planning. This involves several key considerations to ensure your project is completed on time, within budget, and meets your needs.
Determining the Right Container Size for Your Needs
Choosing the right size container is crucial. Containers come in various sizes, typically 10, 20, or 40 feet in length. Consider what you will be storing or using the garage for to determine the appropriate size.
| Container Size | Typical Use | Approximate Cost |
|---|---|---|
| 10 ft | Small storage or workshop | $1,500 – $3,000 |
| 20 ft | Standard garage or office | $3,000 – $6,000 |
| 40 ft | Large garage or multiple uses | $6,000 – $12,000 |
Budget Considerations and Timeline Planning
Establishing a realistic budget and timeline is vital. Consider not just the cost of the container, but also delivery, modifications, and any necessary permits. A well-planned budget helps avoid unexpected expenses.
“A budget is more than just numbers; it’s a plan for how you want to live your life.” – Dave Ramsey
Permits and Local Regulations to Consider
Zoning Requirements
Check with your local government to understand zoning requirements. Some areas may have restrictions on using shipping containers as garages.
Building Codes for Container Structures
Ensure your container garage complies with local building codes, including those related to electrical and plumbing installations.
By carefully planning your shipping container garage project, you can create a functional and cost-effective space that meets your needs.
Selecting the Right Shipping Container
Choosing the right shipping container is a crucial step in your DIY shipping container garage project. The container will be the foundation of your garage, so it’s essential to select one that meets your needs.
New vs. Used Containers: Pros and Cons
When deciding between a new or used shipping container, consider the pros and cons of each. New containers offer the advantage of being in pristine condition, with no signs of wear or potential hidden damages. However, they are more expensive. On the other hand, used containers are cost-effective but may require inspections to identify any damage or needed repairs.
Inspecting Containers Before Purchase
Inspecting a shipping container before purchase is vital. This involves:
- Checking for structural integrity, such as dents, rust, or holes.
- Identifying any signs of chemical contamination.
Checking for Structural Integrity
Ensure the container is structurally sound by examining its framework, doors, and roof for any damage.
Identifying Chemical Contamination
Check for any signs of chemical leaks or contamination, which could affect the safety and usability of the container.
Where to Buy Quality Shipping Containers
Quality shipping containers can be purchased from reputable dealers or directly from shipping companies. It’s also worth checking online marketplaces and local listings.
By carefully selecting the right shipping container, you set the stage for a successful DIY shipping container garage conversion. Consider your needs, inspect thoroughly, and choose a reliable seller to ensure your project gets off to a great start.
Preparing Your Site for the Container Garage
A well-prepared site is the foundation of a successful shipping container garage project. Before you start converting your shipping container into a garage, it’s crucial to ensure the site is ready for the installation.
Foundation Options for Container Garages
Choosing the right foundation is critical for the stability and longevity of your container garage. There are several options to consider, each with its own advantages.
Concrete Pad Foundations
A concrete pad foundation is a popular choice for container garages. It provides a solid, level base that can support the weight of the container and any additional features. This type of foundation is ideal for areas with stable soil conditions.
Pier Foundations
Pier foundations are another viable option, especially in areas with poor soil quality or where drainage is a concern. They allow for better airflow under the container, reducing the risk of moisture buildup.
Ensuring Proper Drainage and Leveling
Proper drainage and leveling are essential to prevent water accumulation around your container garage, which can lead to structural issues over time. Ensure the site is graded to slope away from the garage, and consider installing a drainage system if necessary.
Delivery and Placement Considerations
When planning the delivery and placement of your shipping container, consider the accessibility of the site. Ensure that the path is clear and that there’s enough space for the delivery truck to maneuver. This will help avoid any additional costs or complications during the delivery process.
- Ensure the site is clear of debris and obstructions.
- Verify that the site is accessible for delivery trucks.
- Plan for proper drainage to prevent water accumulation.
Essential Tools and Materials for Your Conversion
To successfully transform a shipping container into a functional garage, you’ll need the right tools and materials. The conversion process involves several stages, each requiring specific equipment to ensure a safe and efficient transformation.
Basic Tools Required for the Project
Before starting your project, make sure you have the basic tools necessary for the conversion. These include a tape measure, level, wrenches, drills, and safety gear such as gloves and goggles. Having these tools on hand will help you tackle the initial preparation and inspection of the container.
Specialized Equipment Worth Investing In
Depending on the scope of your project, you may need specialized equipment like a reciprocating saw for cutting openings or a welding machine for making structural modifications. If you’re planning to add electrical or plumbing systems, you’ll also need the relevant installation tools. Investing in these specialized tools will ensure that your conversion is done correctly and safely.
Materials Shopping List and Estimated Costs
Creating a detailed materials shopping list is crucial for budgeting your container garage conversion. This list should include materials for insulation, roofing, doors, windows, and any finishes you plan to apply. The cost can vary widely based on your design choices, but on average, you can expect to spend between $5,000 to $15,000 for a basic conversion, depending on the size of the container and the complexity of the container garage design. Understanding the container garage cost upfront will help you plan your project more effectively.
By carefully selecting your tools and materials, you can ensure a successful conversion that meets your needs and budget.
How to Convert a Shipping Container into a Garage: Step-by-Step Process
Transforming a shipping container into a functional garage involves several key steps that ensure a successful conversion. This process requires careful planning, the right tools, and a bit of DIY expertise.
Initial Container Preparation and Cleaning
Before you begin the conversion, it’s essential to prepare and clean the shipping container. Remove any debris or residual materials from the container’s previous use. Inspect the container for any damage or rust, and address these issues early on. Cleaning the interior and exterior with a power washer will help remove dirt and grime, providing a fresh start for your project.
Cutting Openings for Doors and Windows
To make your garage functional, you’ll need to cut openings for doors and windows. This step requires precision and the right equipment.
Safety Precautions When Cutting Steel
When cutting through the steel walls of a shipping container, safety is paramount. Wear protective gear, including gloves, goggles, and a mask. Use a plasma cutter or a reciprocating saw with a metal-cutting blade to make clean cuts.
Reinforcement Techniques
After cutting openings, reinforce the areas around the cuts to maintain the structural integrity of the container. Use steel framing or additional metal supports to ensure the container remains sturdy.

Installing a Proper Garage Door
A garage door is a crucial element of your shipping container garage. Proper installation ensures security, functionality, and aesthetic appeal.
Framing the Opening
Frame the opening where the garage door will be installed using steel beams. This frame will provide the necessary support for the door.
Door Selection and Installation
Choose a garage door that fits your needs and budget. Install the door according to the manufacturer’s instructions, ensuring it is level and securely attached to the frame.
By following these steps, you can successfully convert a shipping container into a functional garage. The key is to plan carefully, work safely, and enjoy the process of creating something unique and useful.
| Step | Description | Tools Required |
|---|---|---|
| Initial Preparation | Clean and inspect the container | Power washer, inspection tools |
| Cutting Openings | Cut doors and windows | Plasma cutter, reciprocating saw |
| Reinforcement | Reinforce cut areas | Steel framing, welding equipment |
| Garage Door Installation | Install garage door | Steel beams, garage door hardware |
“The key to a successful shipping container garage conversion lies in meticulous planning and execution. By following a step-by-step approach, you can achieve a functional and aesthetically pleasing garage.”
Exterior Finishing and Weatherproofing
To enhance the longevity and aesthetic appeal of your DIY shipping container garage, it’s essential to prioritize exterior finishing and weatherproofing. This step is crucial in protecting your investment from environmental degradation and ensuring it remains a valuable container garage idea for years to come.
Rust Prevention and Treatment
One of the primary concerns with shipping container garages is rust. To prevent this, applying a rust-inhibiting coating is a must. You can opt for a rust converter or a high-quality rust-proof paint. Regular inspections will also help in early detection of any rust formation, allowing for timely intervention.
Exterior Cladding Options
Exterior cladding not only enhances the appearance of your container garage but also provides an additional layer of protection. Options include wood, vinyl, or metal cladding. For instance, wood cladding can add a natural aesthetic, while vinyl cladding offers durability with minimal maintenance. You can explore more about cladding options and their benefits in various container projects.
Roof Considerations and Rainwater Management
The roof of your container garage is a critical area that requires careful consideration. Ensuring it’s properly sealed and potentially adding a roof coating can prevent leaks. Moreover, implementing a rainwater management system, such as gutters and downspouts, will help in directing water away from the foundation, thus preventing erosion and water damage.
Painting and Protecting Your Container Garage
Painting your container garage is not just about aesthetics; it’s also a protective measure. Using a high-quality exterior paint that is resistant to fading and cracking will help maintain the structure’s integrity. Additionally, applying a clear coat can provide extra protection against the elements.
By focusing on these exterior finishing and weatherproofing aspects, you can ensure your shipping container garage remains in excellent condition, serving its purpose effectively while also being a great container garage idea that adds value to your property.
Insulation and Climate Control Solutions
To ensure your container garage is comfortable and functional, proper insulation and climate control solutions are necessary.
Why Insulation is Crucial for Container Garages
Insulation plays a vital role in maintaining a stable temperature inside your shipping container workshop, protecting your tools and equipment from extreme temperatures.
Without proper insulation, the metal walls of the container can become extremely hot or cold, making the space unusable for most purposes.
Different Insulation Methods and Materials
There are several insulation methods and materials available for container garage design, each with its pros and cons.
Spray Foam Insulation
Spray foam insulation is a popular choice due to its high R-value and ability to fill gaps and cavities.
It provides a tight seal, reducing air leakage and moisture intrusion.
Panel Insulation Options
Panel insulation involves installing pre-fabricated panels within the container.
This method is less messy than spray foam and can be more cost-effective.
| Insulation Method | R-Value | Cost |
|---|---|---|
| Spray Foam | 6.0 – 7.0 per inch | Higher |
| Panel Insulation | 4.0 – 6.0 | Moderate |
| Reflective Insulation | Varies | Lower |
For more detailed information on insulation installation procedures, visit quality insulation installation guidelines.
Ventilation and Temperature Management Systems
Proper ventilation is essential for removing moisture and reducing the risk of mold and mildew.
Temperature management systems, including heaters and air conditioners, help maintain a comfortable working environment.

Electrical and Plumbing Installations
A well-planned electrical and plumbing system is the backbone of a safe and efficient container garage. To make your shipping container garage fully functional, it’s crucial to understand the essentials of electrical and plumbing installations.
Planning Your Electrical Layout
Before you start wiring your container garage, it’s essential to plan your electrical layout carefully. This involves determining the number of lights, outlets, and any specialized equipment you need. Consider consulting with a licensed electrician to ensure your plan meets local electrical codes and safety standards.
Wiring Your Container Garage Safely
Safety is paramount when it comes to electrical wiring. Ensure that all wiring is done according to the National Electric Code (NEC) and local regulations. This includes using the correct gauge of wire, appropriate circuit breakers, and GFCI outlets where necessary.
Grounding Considerations
Proper grounding is critical to prevent electrical shocks and ensure the safe operation of your electrical system. This involves connecting your electrical system to the earth, typically through a grounding rod. It’s a step that should not be overlooked and is often subject to local electrical codes.
Lighting and Outlet Placement
Strategic placement of lighting and outlets can significantly enhance the functionality of your container garage. Consider the tasks you’ll be performing and place outlets and lights accordingly. For instance, task lighting can be beneficial for workbenches.
Adding Basic Plumbing if Needed
If you plan to use your container garage for activities that require water, such as a workshop with a sink or a car wash area, you’ll need to consider plumbing. This involves connecting to a water supply and ensuring proper drainage. It’s advisable to consult with a professional plumber to ensure compliance with local plumbing codes.
| Installation Type | Key Considerations | Professional Assistance |
|---|---|---|
| Electrical | Local codes, safety standards, grounding | Licensed Electrician |
| Plumbing | Water supply, drainage, local codes | Professional Plumber |
By carefully planning and executing your electrical and plumbing installations, you can ensure your container garage is both functional and safe. Whether you’re using it for storage, a workshop, or another purpose, these installations are key to getting the most out of your investment.
Conclusion: Enjoying Your New Container Garage
Converting a shipping container into a garage is a rewarding DIY project that offers numerous benefits, including cost-effectiveness, sustainability, and versatility. By following the steps outlined in this article, you can successfully turn a shipping container into a functional garage that meets your needs.
With a DIY shipping container garage, you can enjoy a unique and eco-friendly storage solution that adds value to your property. Whether you’re looking to store your vehicles, create a workshop, or simply have extra storage space, a shipping container garage is an excellent choice.
Now that you’ve learned how to convert a shipping container into a garage, it’s time to start planning your project. With careful planning, execution, and attention to detail, you can create a garage that is both functional and aesthetically pleasing.

