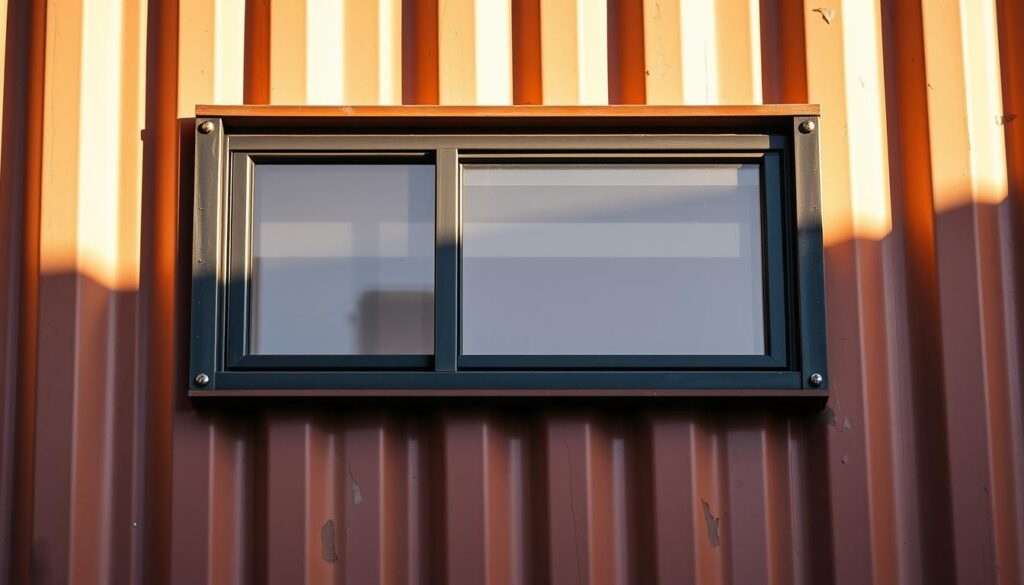
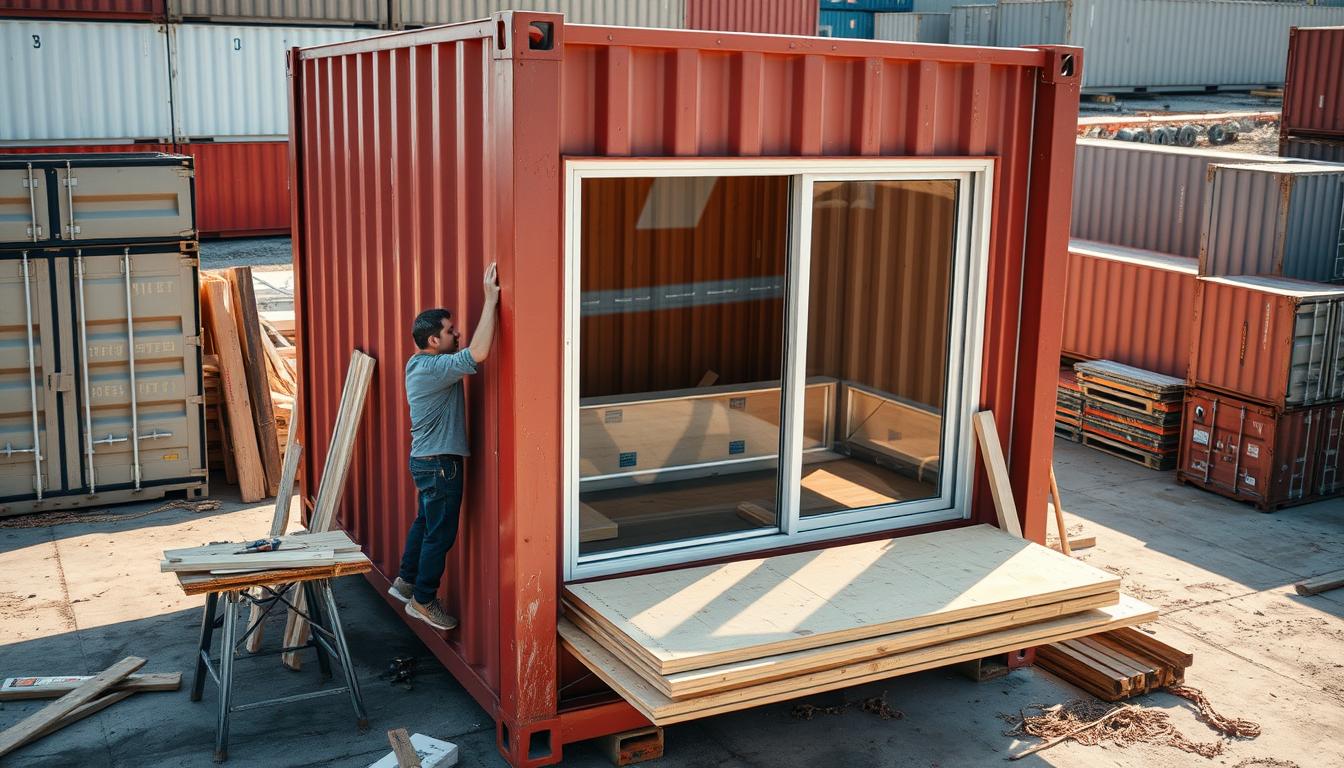
Can a shipping container be transformed into a bright and airy living space? The answer is a resounding yes. Installing windows in a shipping container is a simple and effective way to bring in natural light and ventilation, making it an ideal solution for container homes or structures.
By adding windows, you can not only enhance the aesthetic appeal of your container but also improve its functionality. This is especially important for container homes, where natural light and ventilation are crucial for a comfortable living environment.
Key Takeaways
- Enhance the aesthetic appeal of your shipping container
- Improve natural light and ventilation
- Simple and effective solution for container homes
- Increase functionality and comfort
- Transform your container into a bright and airy space
Understanding the Benefits of Windows in Shipping Containers
One of the key steps in making shipping containers habitable is the installation of windows. Windows not only brighten up the interior but also play a crucial role in ventilation and aesthetics.
When considering adding windows to shipping container structures, it’s essential to understand the benefits they provide. The advantages can be broadly categorized into functional benefits and aesthetic improvements.
Natural Light and Ventilation Benefits
Windows allow natural light to flood the container, making it feel more welcoming and less like a metal box. Properly placed windows can also enhance ventilation, reducing the need for artificial lighting and air conditioning. Some key benefits include:
- Reduced energy consumption through natural lighting
- Improved air quality due to cross ventilation
- A more pleasant living environment
Aesthetic Improvements for Container Homes
Windows can dramatically improve the aesthetic appeal of container homes. They provide a visual connection to the outdoors and can make the space feel larger. When selecting windows for a shipping container home, consider the style and type that will best complement the overall design. Some popular options include:
- Fixed windows for a sleek, modern look
- Sliding windows for ease of use
- Casement windows for maximum ventilation
By incorporating windows effectively, you can transform a shipping container into a beautiful and functional living space.
Essential Tools and Materials Needed
Before starting your DIY shipping container window installation, it’s crucial to gather the necessary tools and materials. Having everything you need at hand will make the process smoother and more efficient.
To begin with, let’s look at the tools required for the job.
Required Tools for Cutting and Installation
The right tools are essential for cutting through the shipping container’s metal and installing the windows correctly. You’ll need:
- A reciprocating saw or a metal cutting bandsaw for cutting through the container’s walls.
- A drill with metal drill bits for making pilot holes.
- A grinder for smoothing out the edges after cutting.
- A level and a tape measure to ensure accurate placement and measurement.
Window Types Suitable for Shipping Containers
Choosing the right type of window is crucial for both functionality and aesthetics. Some popular options include:
- Fixed windows for natural light without ventilation.
- Sliding windows for a balance between ventilation and ease of use.
- Casement and awning windows for maximum ventilation.
Each type has its benefits, and the choice depends on your specific needs and tips for installing windows in shipping container you’ve gathered.
Additional Materials for Framing and Sealing
To ensure a watertight and durable installation, you’ll need additional materials for framing and sealing the windows. These include:
- Metal framing materials (e.g., steel channels or angles) to reinforce the window opening.
- Weatherproofing materials like sealants and flashing tape to prevent water infiltration.
- Insulation materials to keep the container home comfortable and energy-efficient.
By having all these tools and materials ready, you’ll be well-prepared to tackle your DIY shipping container window installation project efficiently.
Planning Your Window Placement
Installing windows in a shipping container requires meticulous planning to ensure structural integrity and optimal functionality. One of the first steps in this process is understanding the structural considerations and limitations of your container.
Structural Considerations and Limitations
Shipping containers are designed to be robust and withstand various environmental conditions. However, cutting into their structure for windows can compromise their integrity if not done correctly. It’s essential to identify the load-bearing elements and avoid cutting into them. For more information on the standard sizes of shipping containers and how they might impact your modifications, you can refer to this guide on standard shipping container sizes.
| Structural Element | Consideration | Action |
|---|---|---|
| Corner Posts | Load-bearing | Avoid cutting |
| Top and Bottom Rails | Structural integrity | Minimize cuts |
| Side Walls | Can be modified | Plan carefully |
Optimal Positioning for Light and Ventilation
Windows not only provide natural light but also facilitate ventilation, making your shipping container more livable. Optimal window placement varies depending on the container’s orientation and the surrounding environment. Generally, south-facing windows receive the most sunlight, while windows on opposite sides can create a cooling cross breeze.
Measuring and Marking Techniques
Once you’ve decided on the optimal window positions, accurate measuring and marking are crucial. Use a level and a marker to clearly delineate where you’ll be cutting. Double-check your measurements to avoid costly mistakes. A well-planned window installation is a key part of following best practices for putting windows in a shipping container and is integral to a successful step-by-step guide for installing windows in a shipping container.
Building Codes and Permit Requirements
Before you start installing windows in your shipping container, it’s crucial to understand the local building codes and permit requirements. Modifying a shipping container into a livable space involves more than just physical alterations; it requires compliance with legal and regulatory standards.
Local authorities have specific building codes that dictate how structures, including modified shipping containers, should be constructed and altered. These codes are in place to ensure safety, sustainability, and aesthetic consistency within communities.
Local Regulations for Container Modifications
Different regions have unique regulations regarding the modification of shipping containers. For instance, some areas may require that any alterations, including window installations, adhere to specific standards to ensure structural integrity and safety.
It’s essential to consult with local building authorities to understand the specific regulations in your area. This might involve reviewing local building codes, zoning laws, and permit requirements. A key part of windows installation guide for shipping container projects is navigating these regulations successfully.
Professional Inspections and Approvals
Once you’ve modified your shipping container, including the installation of windows, your project will likely need to undergo inspections by local building authorities. These inspections verify that your modifications comply with local building codes and regulations.
Professional inspections can cover various aspects, including structural integrity, electrical and plumbing installations, and, importantly, the quality and safety of window installations. Obtaining the necessary approvals is crucial for the legal occupancy and use of your modified shipping container.
By understanding and complying with local regulations and undergoing professional inspections, you can ensure that your shipping container modification project is successful, safe, and compliant with all relevant laws and standards.
How to Put Windows in Shipping Container: Step-by-Step Process
To bring natural light into your shipping container home, follow a detailed step-by-step guide for window installation. This process involves several key steps that ensure a successful and safe installation.
Creating a Template for Cutting
Before cutting into your shipping container, it’s essential to create a precise template for the window opening. This template will guide your cutting tool and help avoid mistakes. Use a sturdy material like plywood or cardboard to create the template, ensuring it fits snugly against the container’s wall.
Cutting Methods Comparison
There are several methods to cut through a shipping container’s steel walls. Each method has its advantages and challenges.
Angle Grinder Technique
The angle grinder is a versatile tool for cutting through steel. It’s effective but can be time-consuming and generates a lot of dust.
Plasma Cutter Method
A plasma cutter offers a faster and more precise cutting method. It’s ideal for complex cuts but requires more skill and safety precautions.
Reciprocating Saw Approach
A reciprocating saw is another option, particularly useful for cutting out the window frame after the initial cut. It’s less precise than a plasma cutter but can be more accessible for some DIYers.
| Cutting Method | Precision | Speed | Difficulty |
|---|---|---|---|
| Angle Grinder | Medium | Slow | Medium |
| Plasma Cutter | High | Fast | High |
| Reciprocating Saw | Low | Medium | Low |
Preparing the Opening for Installation
After cutting out the window opening, prepare it for installation by cleaning up the edges and reinforcing the area around the cutout. This step is crucial for ensuring a secure and watertight installation.
As DIY experts suggest, “Proper preparation of the window opening is key to a successful installation.” Ensuring the edges are clean and free of debris will facilitate a smoother installation process.
Framing the Window Opening
To ensure the structural integrity of your shipping container home, proper framing around the window openings is essential. Framing not only supports the window but also reinforces the container’s structure, preventing potential weaknesses that could lead to issues like water infiltration or reduced durability.
When framing a window opening, it’s crucial to select the right materials and techniques. The choice between different framing options can significantly impact the overall performance and longevity of the window installation.
Metal Framing Options and Techniques
Metal framing is a common choice for shipping container modifications due to its compatibility with the container’s steel structure. Using metal framing helps maintain the container’s original strength while providing a solid base for the window. Techniques such as welding or bolting can be employed to secure the frame in place.

Reinforcing the Container Structure
In addition to framing the window opening, reinforcing the surrounding container structure is vital. This can be achieved by adding steel plates or brackets around the opening to distribute the stress more evenly. By doing so, you can prevent the container from becoming compromised due to the removal of material for the window.
Following best practices for putting windows in shipping containers includes ensuring that the reinforcement is done in a way that supports the overall structure, thus maintaining its integrity and functionality.
Installing Different Window Types
When it comes to adding windows to a shipping container, the type of window you choose can significantly impact the overall functionality and aesthetic appeal. Different window types offer unique benefits and require specific installation processes.
Fixed Windows Installation Process
Fixed windows are a popular choice for shipping containers due to their simplicity and effectiveness in allowing natural light. To install a fixed window, start by ensuring the opening is properly framed and reinforced. Then, place the window into the opening, ensuring it is centered and level. Secure the window using appropriate fasteners, and seal the edges to prevent water infiltration. For more detailed guides on fixed window installations, you can refer to resources like shipping container modification forums.
Sliding Windows Installation Process
Sliding windows offer the advantage of ventilation while maintaining a sleek, modern look. The installation process involves preparing the opening, similar to fixed windows, but with additional considerations for the sliding mechanism. Ensure the tracks are properly aligned and securely attached to the container’s frame. Test the sliding mechanism to ensure smooth operation before sealing the edges.
Casement and Awning Windows Installation
Casement and awning windows provide excellent ventilation and can be installed in shipping containers with some additional considerations. For casement windows, ensure the hinges are securely attached to the container’s frame, and for awning windows, verify that the opening mechanism is properly supported. Both types require careful sealing around the edges to prevent leaks.
| Window Type | Installation Complexity | Ventilation Capability |
|---|---|---|
| Fixed | Low | No |
| Sliding | Moderate | Yes |
| Casement | Moderate to High | Yes |
| Awning | Moderate to High | Yes |
In conclusion, installing different types of windows in a shipping container requires careful consideration of the specific needs and benefits of each window type. By following the appropriate installation processes, you can enhance the functionality and appeal of your shipping container.
Weatherproofing and Sealing Techniques
Ensuring your shipping container home is weatherproofed and sealed properly around windows is crucial for its longevity and comfort. Effective weatherproofing and sealing techniques not only prevent water damage but also enhance the energy efficiency of your home.
Preventing Water Infiltration
Water infiltration is a significant concern when installing windows in shipping containers. To prevent leaks, it’s essential to seal all gaps and edges around the window frames. Using a high-quality silicone sealant can provide a durable and watertight seal.
- Inspect the window frame and surrounding area for any gaps or cracks.
- Apply sealant around the edges, ensuring a thorough coverage.
- Allow the sealant to dry completely before exposing the area to water or moisture.
Insulation Around Window Frames
Proper insulation around window frames is critical for maintaining a comfortable temperature inside your shipping container home. It helps in reducing heat loss during winter and heat gain during summer.
Some effective insulation methods include:
- Using spray foam insulation around the window frames to fill gaps and provide thermal insulation.
- Installing foam board insulation around the windows for added thermal protection.
Vapor Barrier Installation
A vapor barrier is essential for preventing moisture buildup within the walls of your shipping container home. It helps in reducing the risk of mold and mildew.
To install a vapor barrier:
- Wrap the window frame and surrounding area with a plastic vapor barrier sheet, ensuring it covers the entire area.
- Secure the vapor barrier with tape or staples, making sure it’s tightly sealed.

Troubleshooting Common Installation Issues
Addressing potential problems is essential for a successful window installation in shipping containers. Despite careful planning and execution, issues such as uneven cuts, leaks, drafts, and window alignment problems can arise.
Dealing with Uneven Cuts
Uneven cuts can compromise the integrity of the window installation. To address this, use a template to guide your cutting tool, ensuring precision. If the cut is already uneven, consider using a grinder or file to smooth out the edges before proceeding with the installation.
Addressing Leaks and Drafts
Leaks and drafts around windows can lead to energy inefficiency and moisture issues. To prevent this, ensure that the window frame is properly sealed with a high-quality sealant. Regularly inspect the area around the window for any signs of leakage or air gaps.
Fixing Window Alignment Problems
Proper alignment is crucial for the smooth operation of windows. If a window is not aligning correctly, check the framing for any distortions or miscalculations. Adjust the frame as necessary to ensure the window operates smoothly and seals properly.
By addressing these common issues, you can ensure a successful and durable window installation in your shipping container home, following best practices for putting windows in shipping containers.
Conclusion
Installing windows in shipping containers can be a rewarding DIY project, transforming a metal box into a functional and aesthetically pleasing space. By following the steps outlined in this guide, you can successfully put windows in your shipping container.
Careful planning and precise execution are crucial when installing windows in shipping containers. This involves understanding the benefits of windows, choosing the right tools and materials, and ensuring compliance with local building codes.
To achieve a successful installation, it’s essential to frame the window opening correctly, install the chosen window type, and apply effective weatherproofing and sealing techniques. Troubleshooting common issues will also help you overcome potential challenges.
By applying the knowledge gained from this guide, you can create a well-lit, ventilated, and visually appealing space. Whether you’re converting a shipping container into a home, office, or storage facility, installing windows is a critical step in the process. With the right skills and attention to detail, you can enjoy the benefits of a beautifully modified shipping container.

